
⚡ QUICK ANSWER
How do you take good photos at a festival?
The best festival photos come from: shooting in golden hour light (one hour before sunset), using portrait mode for close-up people shots, turning off HDR for stage shots (it creates blur and unnatural colours in moving light), locking exposure manually on the brightest stage element, and having a fully charged device so you can shoot freely. The phone camera in your pocket is capable of excellent results with the right settings.
Every festival-goer wants photos that look as good as the memory feels. The gap between what your phone can produce and what most people actually get is almost entirely explained by default settings and timing — not by the phone model. This guide covers the specific adjustments and approaches that produce genuinely good festival photos.
Phone Settings to Change Before You Arrive
For Concert and Stage Shots
- Turn off HDR. HDR combines multiple exposures — it is designed for still, well-lit scenes. At a concert with moving performers and dynamic lighting, HDR creates ghost blurs and unnatural colour merges. Disable it: iPhone Settings → Camera → HDR. Android: camera settings → disable Smart HDR or Auto HDR.
- Disable night mode during performances. Night mode takes sequential images and blends them — this creates blur for moving subjects. On iPhone, tap the night mode icon and set it to 0 seconds. On Android, look for the night/low-light option in Pro mode and disable it.
- Lock exposure manually. On iPhone: tap and hold on the stage lights until you see AE/AF Lock. On most Android: tap your subject, then use the sun/exposure slider to lock. This stops the camera constantly adjusting when the lights change.
- Shoot RAW if your phone supports it. iPhone ProRAW or Samsung Expert RAW retains far more shadow and highlight detail than JPEG — gives you much more to work with in editing. Requires more storage.
- Use 1x or wide zoom only. Digital zoom is quality-destroying cropping. Step physically closer instead of zooming in digitally.
For Crowd and People Shots
- Wide angle (0.5x) for crowd atmosphere. The ultra-wide lens makes crowds look denser and more impressive. Use it looking back at the crowd with the stage behind you — the perspective is striking.
- Portrait mode at 1-2 metres for group shots. Portrait mode at close range creates natural background separation that makes people stand out from the chaotic festival background. Takes 2-3 shots quickly to get one with eyes open and no blink.
- Burst mode for anything moving. Hold the shutter — the phone takes 8-10 frames per second. Pick the best one afterwards. Essential for crowd surfers, mosh pits, and energetic performers.
- Shoot into backlight for silhouettes. Sunset behind the stage, or the glow of a large LED screen behind a crowd, creates clean silhouettes with zero technique required. Set exposure for the bright background — the foreground goes dark and dramatic.
The Best Times to Shoot at a Festival
| Time | Light Quality | Best Subject | Why |
|---|---|---|---|
| 5:30-7:30am | Golden, soft, low sun | Empty campsite, mist, early risers | The site before 100,000 people is genuinely beautiful |
| 10am-2pm | Bright, harsh shadows | Colour, atmosphere, wide shots | Fine for bold documentary shots; harsh for portraits |
| 2-5pm | Variable, often diffused | Group portraits, food, activities | Overcast light is actually ideal for faces — soft and even |
| 6-8pm (golden hour) | Warm, golden, low angle | Stage shots with warm colour, crowd portraits, landscapes | The best available light. Everything looks better now. |
| 8-9pm (blue hour) | Purple-blue, atmospheric | Stage with crowd, light painting, atmosphere shots | The 20 minutes before dark — atmospheric quality that cannot be replicated |
| Full dark | Stage and venue lights only | Performer shots, light trails, long exposure | Challenging but the most dramatic results — requires correct settings |
Camera Gear Worth Bringing
Whether a dedicated camera is worth bringing depends on your commitment and willingness to carry it for 8 hours in potentially wet conditions:
| Gear | Worth It? | Why | Buy |
|---|---|---|---|
| Clip-on phone telephoto lens | Yes | Gets you closer to stage without sacrificing pocket access. 2x optical quality improvement over digital zoom. | Clip-on phone telephoto lens UK |
| Waterproof phone case (not bag) | Non-negotiable | Rain + performing artists + expensive phone = one combination you regret. A case that stays on is better than a bag that comes off. | Waterproof phone case UK |
| Compact camera (Sony ZV-1, Canon G7X) | Yes if you shoot regularly | Significantly better low-light sensor than any phone; pocketable; worth the weight if photography matters | Compact camera for festivals UK |
| Mini portable ring light | Situational | For close-up portraits in low-light evening conditions. Attach to phone. | Mini ring light UK |
| Phone gimbal stabiliser | Video-focused only | Festival video is significantly better stabilised. Not worth the weight for stills only. | Phone gimbal UK |
| DSLR/mirrorless | Serious photographers only | Excellent results but large, heavy, rain-risky, and many festivals restrict lenses over 3 inches | — |
Protecting Your Kit
- Wrist strap over neck strap. A neck strap can be grabbed or slipped in a crowd. A wrist strap cannot be removed without your knowledge. Camera wrist strap UK.
- Waterproof bag for any dedicated camera. Waterproof dry bag for camera UK — festival rain is sudden and unforgiving.
- Lens cloth or microfibre wipes in your pocket. Dust and misting are constant. Microfibre lens cloth UK.
- Battery and storage anxiety costs shots. A 20,000mAh power bank handles phone charging throughout the day. Delete duplicates each evening to free storage.
Editing — The 60-Second Fix That Transforms Festival Photos
The single most useful edit for festival concert photos: in any photo app, reduce highlights and increase shadows. This recovers the blown-out stage lighting while lifting the underexposed crowd into the frame. It takes 15 seconds and turns a mediocre concert photo into something worth keeping.
- Adobe Lightroom Mobile (free) — the most powerful free option. The ‘Auto’ button alone is better than most manual adjustments. Shadows/highlights sliders are the key controls.
- Snapseed (free, Google) — selective editing tool. The healing brush removes unwanted elements. Excellent for targeted fixes.
- VSCO — preset-based editing with a consistent aesthetic feel. Buy a preset pack once and apply it across a whole festival’s photos for consistent style.
- iPhone/Android native editor — underrated for quick fixes. Exposure, brilliance, highlights, shadows, and saturation are all powerful in the built-in app.
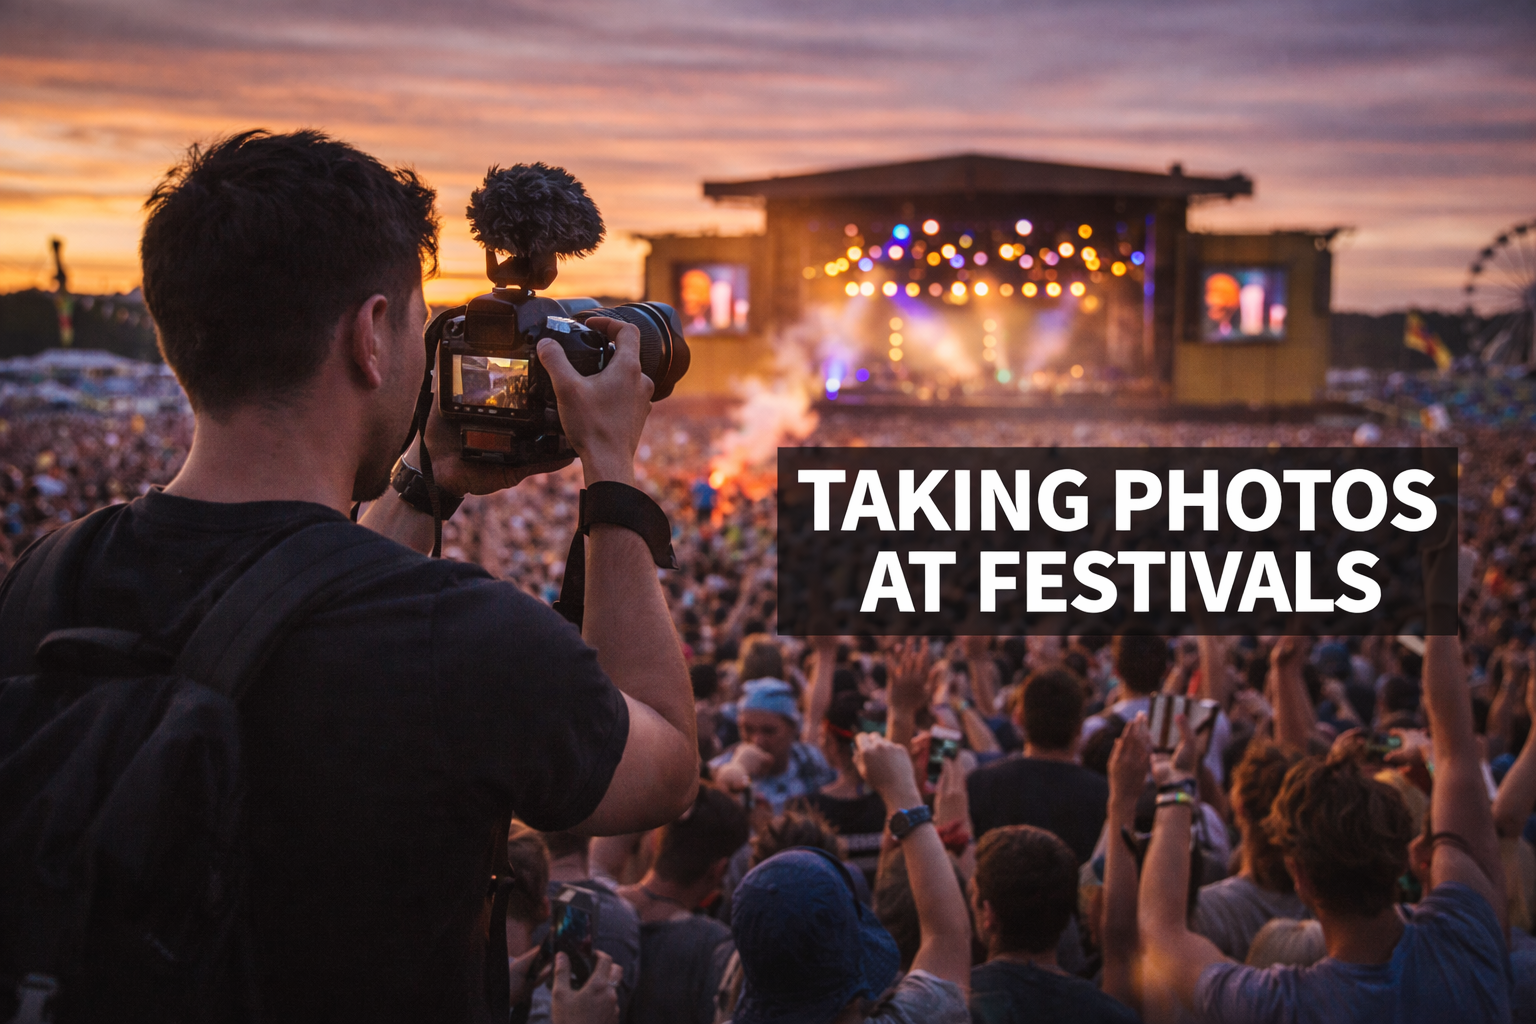
Festival Photography Etiquette
- Ask before pointing a camera at strangers at close range. A nod and gesture is usually sufficient — respect a shake of the head.
- Don’t shoot with flash at concerts. It does nothing for the performance and is genuinely blinding for the people immediately in front of you. Turn flash off permanently.
- Don’t hold a screen above your head for extended periods. It blocks the view for everyone behind you and is the specific behaviour most festival-goers cite as most annoying.
- Check the festival’s photography policy. Professional camera restrictions (typically lenses over 3 inches) are common at larger festivals. This is on the festival’s website — check before packing a DSLR.
FREE DOWNLOAD
The Free Festival Survival Guide
Download the free Festival Survival Guide — includes the complete kit checklist so you have the right gear to protect your phone and camera all weekend.
📚 RELATED READING
Some links in this post are affiliate links (Amazon Associates). If you buy through them, we earn a small commission at no extra cost to you. We only recommend kit we genuinely believe in.
Discover more from The Mosh Manual
Subscribe to get the latest posts sent to your email.